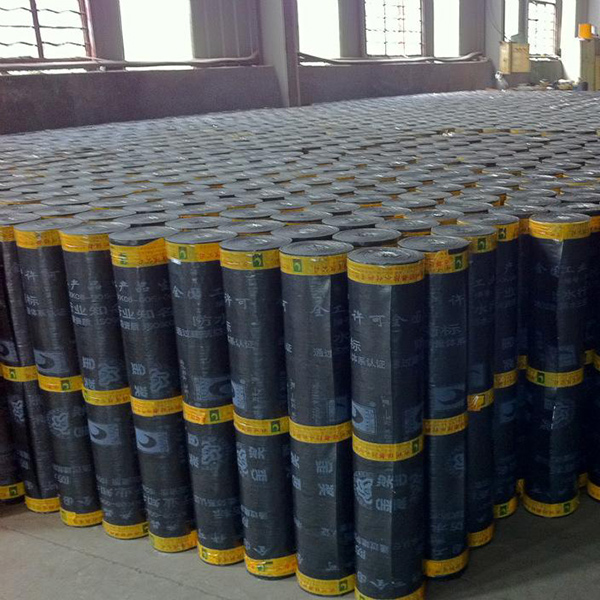
Self-adhesive roofing waterproof membrane
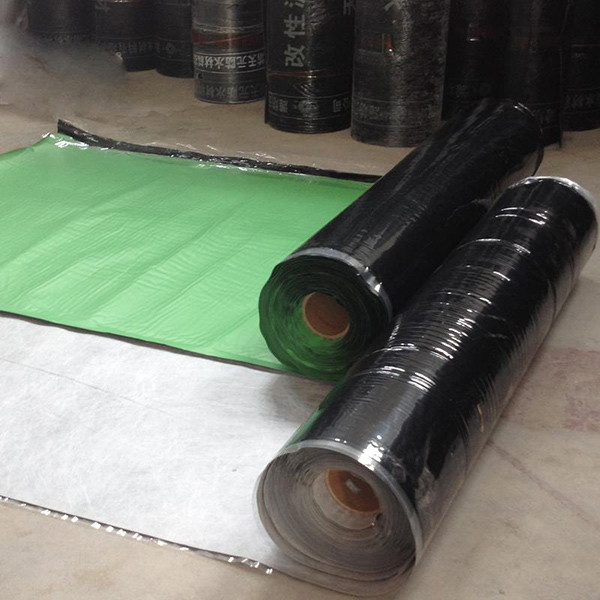
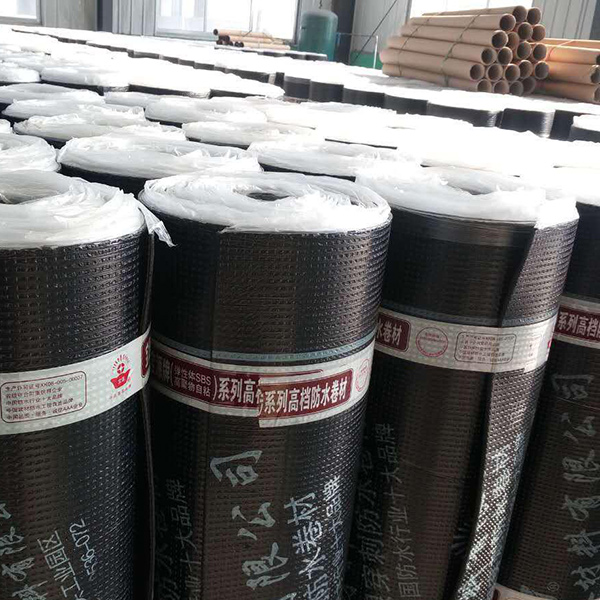
Self-adhesive rubber asphalt waterproofing membrane is a self-adhesive waterproofing membrane that uses polymer resin and high-quality asphalt as the base material, polyethylene film and aluminum foil as the surface material, and adopts a separation layer. The product has strong bonding properties and self-healing properties, and is suitable for construction in high and low temperature environments. It is divided into two types: self-adhesive with tire and self-adhesive without tire. It is composed of a tyre self-adhesive upper and lower self-adhesive rubber sandwiched between the tyre base, the upper cladding surface is a vinyl film, and the lower cladding surface is a peelable silicone oil film. Tireless self-adhesive is composed of self-adhesive glue, upper vinyl film and lower silicone oil film.
Scope of application
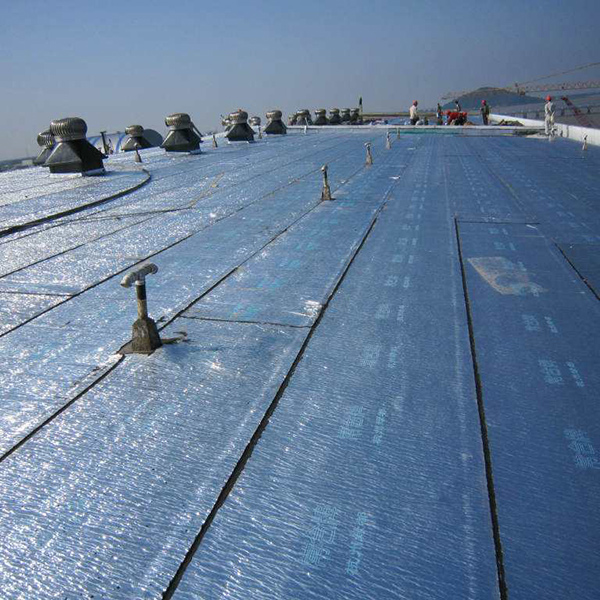
Is suitable for roofing, basement, indoor, municipal engineering and water storage tanks, swimming pools and subway tunnels of industrial and civil buildings. It is also suitable for waterproofing of wooden and metal structure roofs. It is especially suitable for re-waterproofing projects in military facilities that require cold construction and oil depots, chemical plants, textile mills, and grain depots where open flames are not suitable.
Instructions for use
1. Base surface cleaning:
Clean up debris, oil stains, sand on the surface of the base layer, stones and mortar bumps protruding from the surface should be cleaned up. The cleaning work must be carried out at any time during the construction, and the smooth surface should be repaired. Especially remove the cement mortar and other attachments on the drain outlet, chimney and pipe wall;
Cement mortar is used for the male and female corners to form a circular arc angle, the minimum radius of the female corner is 50mm, and the minimum radius of the male corner is 20mm. If there is clear water on the base surface, it can be constructed by sweeping it away.
2. Configure cement paste:
According to cement: water = 2:1 (weight ratio). First pour the water into the prepared mixing bucket according to the proportion, then put the cement in the water, soak for 15-20 minutes and fully soak, pour out the excess water on the surface of the bucket; then add 5% to the amount of cement. 8% polymer construction glue (water retention agent), stir with an electric mixer, and the stirring time is more than 5 minutes.
3. Trial laying of elastic baseline:
According to the conditions of the construction site, carry out reasonable positioning, determine the direction of the coiled material laying, flex the coiled material control line on the base layer, and follow the flow direction to carry out the coiled material trial laying from low to high.
4. Tear the release paper at the bottom of the coil:
After the coiled material is tested, cut the coiled material to be laid, and lay it on the base surface (that is, with the bottom release paper facing up), and peel off the rolled material release paper. When peeling, the peeled release paper should maintain an acute angle of 45 to 60 degrees with the bonding surface to prevent the release paper from being pulled off, and try to keep it in a natural relaxed state, but without wrinkles.
5. Coil paving:
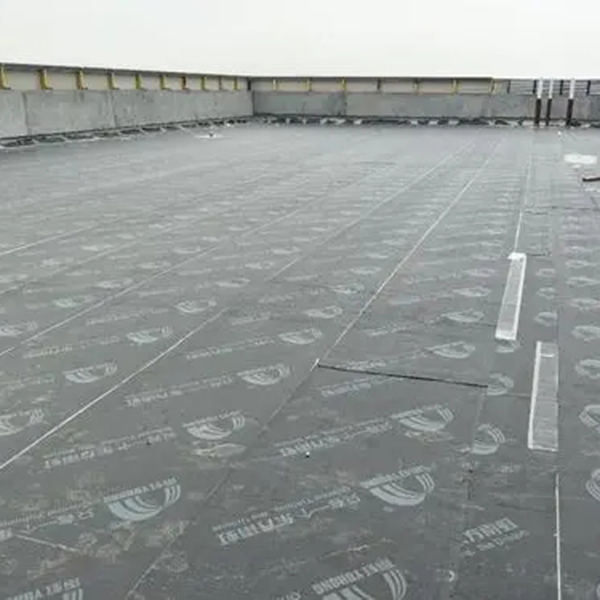
Rolling method: align the roll material with the reference line and try to lay it. Use a paper knife to gently cut the release paper at a length of about 5m. Take care not to scratch the roll material. Slowly tear the unrolled roll release paper from the back. Open, and at the same time, slowly push the unrolled coil forward along the reference line. Lay it while tearing the separator paper. After the paving is completed, the remaining 5m long coils of the previous trial paving are rolled back and pasted on the base layer according to the above method.
Lifting method: Lay the cut roll material back on the base surface (that is, the bottom release paper is facing upwards), after peeling off all the release paper of the roll material, then scrape the cement paste on the bonding surface of the roll material And the base surface to be laid, and then lifted by two people from the two ends of the coil together, flipped and laid on the position to be laid. The coiled material and the adjacent coiled material are parallel overlapped. When the long and short sides are overlapped, the upper and lower coiled material overlap isolation film will be removed.
6. Rolling exhaust:
After the roll material is laid, use a soft rubber plate or roller to scrape and discharge air from the middle to the other side of the roll material overlap direction to make the roll material fully adhere to the base surface. When lapped and pasted the next coil, lift up the release paper at the lap of the lower coil, align the upper coil with the lap control line and stick it on the lower coil, scrape and exhaust the air to fully Full of sticky.
7. Lap edge sealing and head sealing:
Single-sided adhesive coiled material lap side construction: the short sides of adjacent coils are parallel overlapped, and the HNP adhesive tape cover strip is used for heating and bonding (the width of the roof adhesive tape cover strip is 100 mm, and the basement adhesive tape cover The width of the strip is 160 mm). The long side is heated and self-adhesive lap, and the lap width is not less than 80mm. After the large-area paving is completed, carry out the lap side construction 24 hours later. Clean the mud and dust on the lap side during construction, and then remove the upper and lower coils of the lap joint isolation film (the short side does not need to tear the isolation film), and use a hot air gun Bond while heating.
Double-sided adhesive coiled material lap side construction: directly tear off the isolation film at the lap joint of the upper and lower coiled materials, and scrape the overlap side (apply at the same time when applying a large area of cement paste) cement paste glue lap together, Seal with cement paste directly, the lap width of long and short sides: not less than 80mm. Finally, use cement paste to flatten and seal.
8. Finished product maintenance and protection:
Leave for 24 hours to 48 hours (the specific time depends on the ambient temperature, under normal circumstances, the higher the temperature, the shorter the time required). In high-temperature weather, the waterproof layer should prevent exposure to the sun, and can be covered with shade cloth or other items.
Precautions
① The base layer of the membrane waterproof layer should be solid, the surface should be clean and flat, and there should be no hollowing, loosening, sanding and peeling.
②The lap joint of the waterproof layer of the coiled material should be firmly bonded and tightly sealed, and there should be no defects such as wrinkles, warped edges and blisters.
③ The head of the waterproof layer should be bonded to the base layer and fixed firmly, and the seam should be sealed tightly, and the edge should not be warped.
④The protective layer and the waterproof layer of the side wall coiled material waterproof layer should be firmly bonded. The combination is tight and the thickness is uniform.
⑤The allowable deviation of the overlap width of the coil is ±10mm.
Product Display
